Welcome to our guide on how to install a Carlsbad window & door! Whether you’re renovating your home or just upgrading your windows and doors, installing them yourself can be an exciting and rewarding experience. However, it’s important to take the proper steps and approach the project with care. In this article, we’ll provide you with 10 easy steps for installing a Carlsbad window & door that will ensure a beautiful finished product that enhances both the look and functionality of your home. So let’s get started!
Read Also: Identify the Most Popular Windows in San Diego
What You’ll Need
Before you start your Carlsbad window & door installation project, it’s essential to gather the necessary tools and materials. Here are some of the things you’ll need:
Firstly, you’ll need safety equipment such as gloves, goggles, and a dust mask for protection while removing the old window or door.
Secondly, make sure that you have all the measurements required to ensure that your new window or door fits perfectly. You’ll also want to have a level on hand to make sure everything is installed accurately.
Next up is cleaning supplies such as a vacuum cleaner and rags for cleaning any debris left behind after removing the old window or door frame.
Don’t forget about caulking and sealant! These are important materials needed to prevent air leaks around your new window or door.
Get hold of nails, screws, drill bits if applicable. Ensure they’re appropriate sizes according to instructions in manual received from the manufacturer of windows/doors.
By having all these tools and supplies ready before starting your project will save time during installation process ensuring better results at end with less frustration throughout entire process.
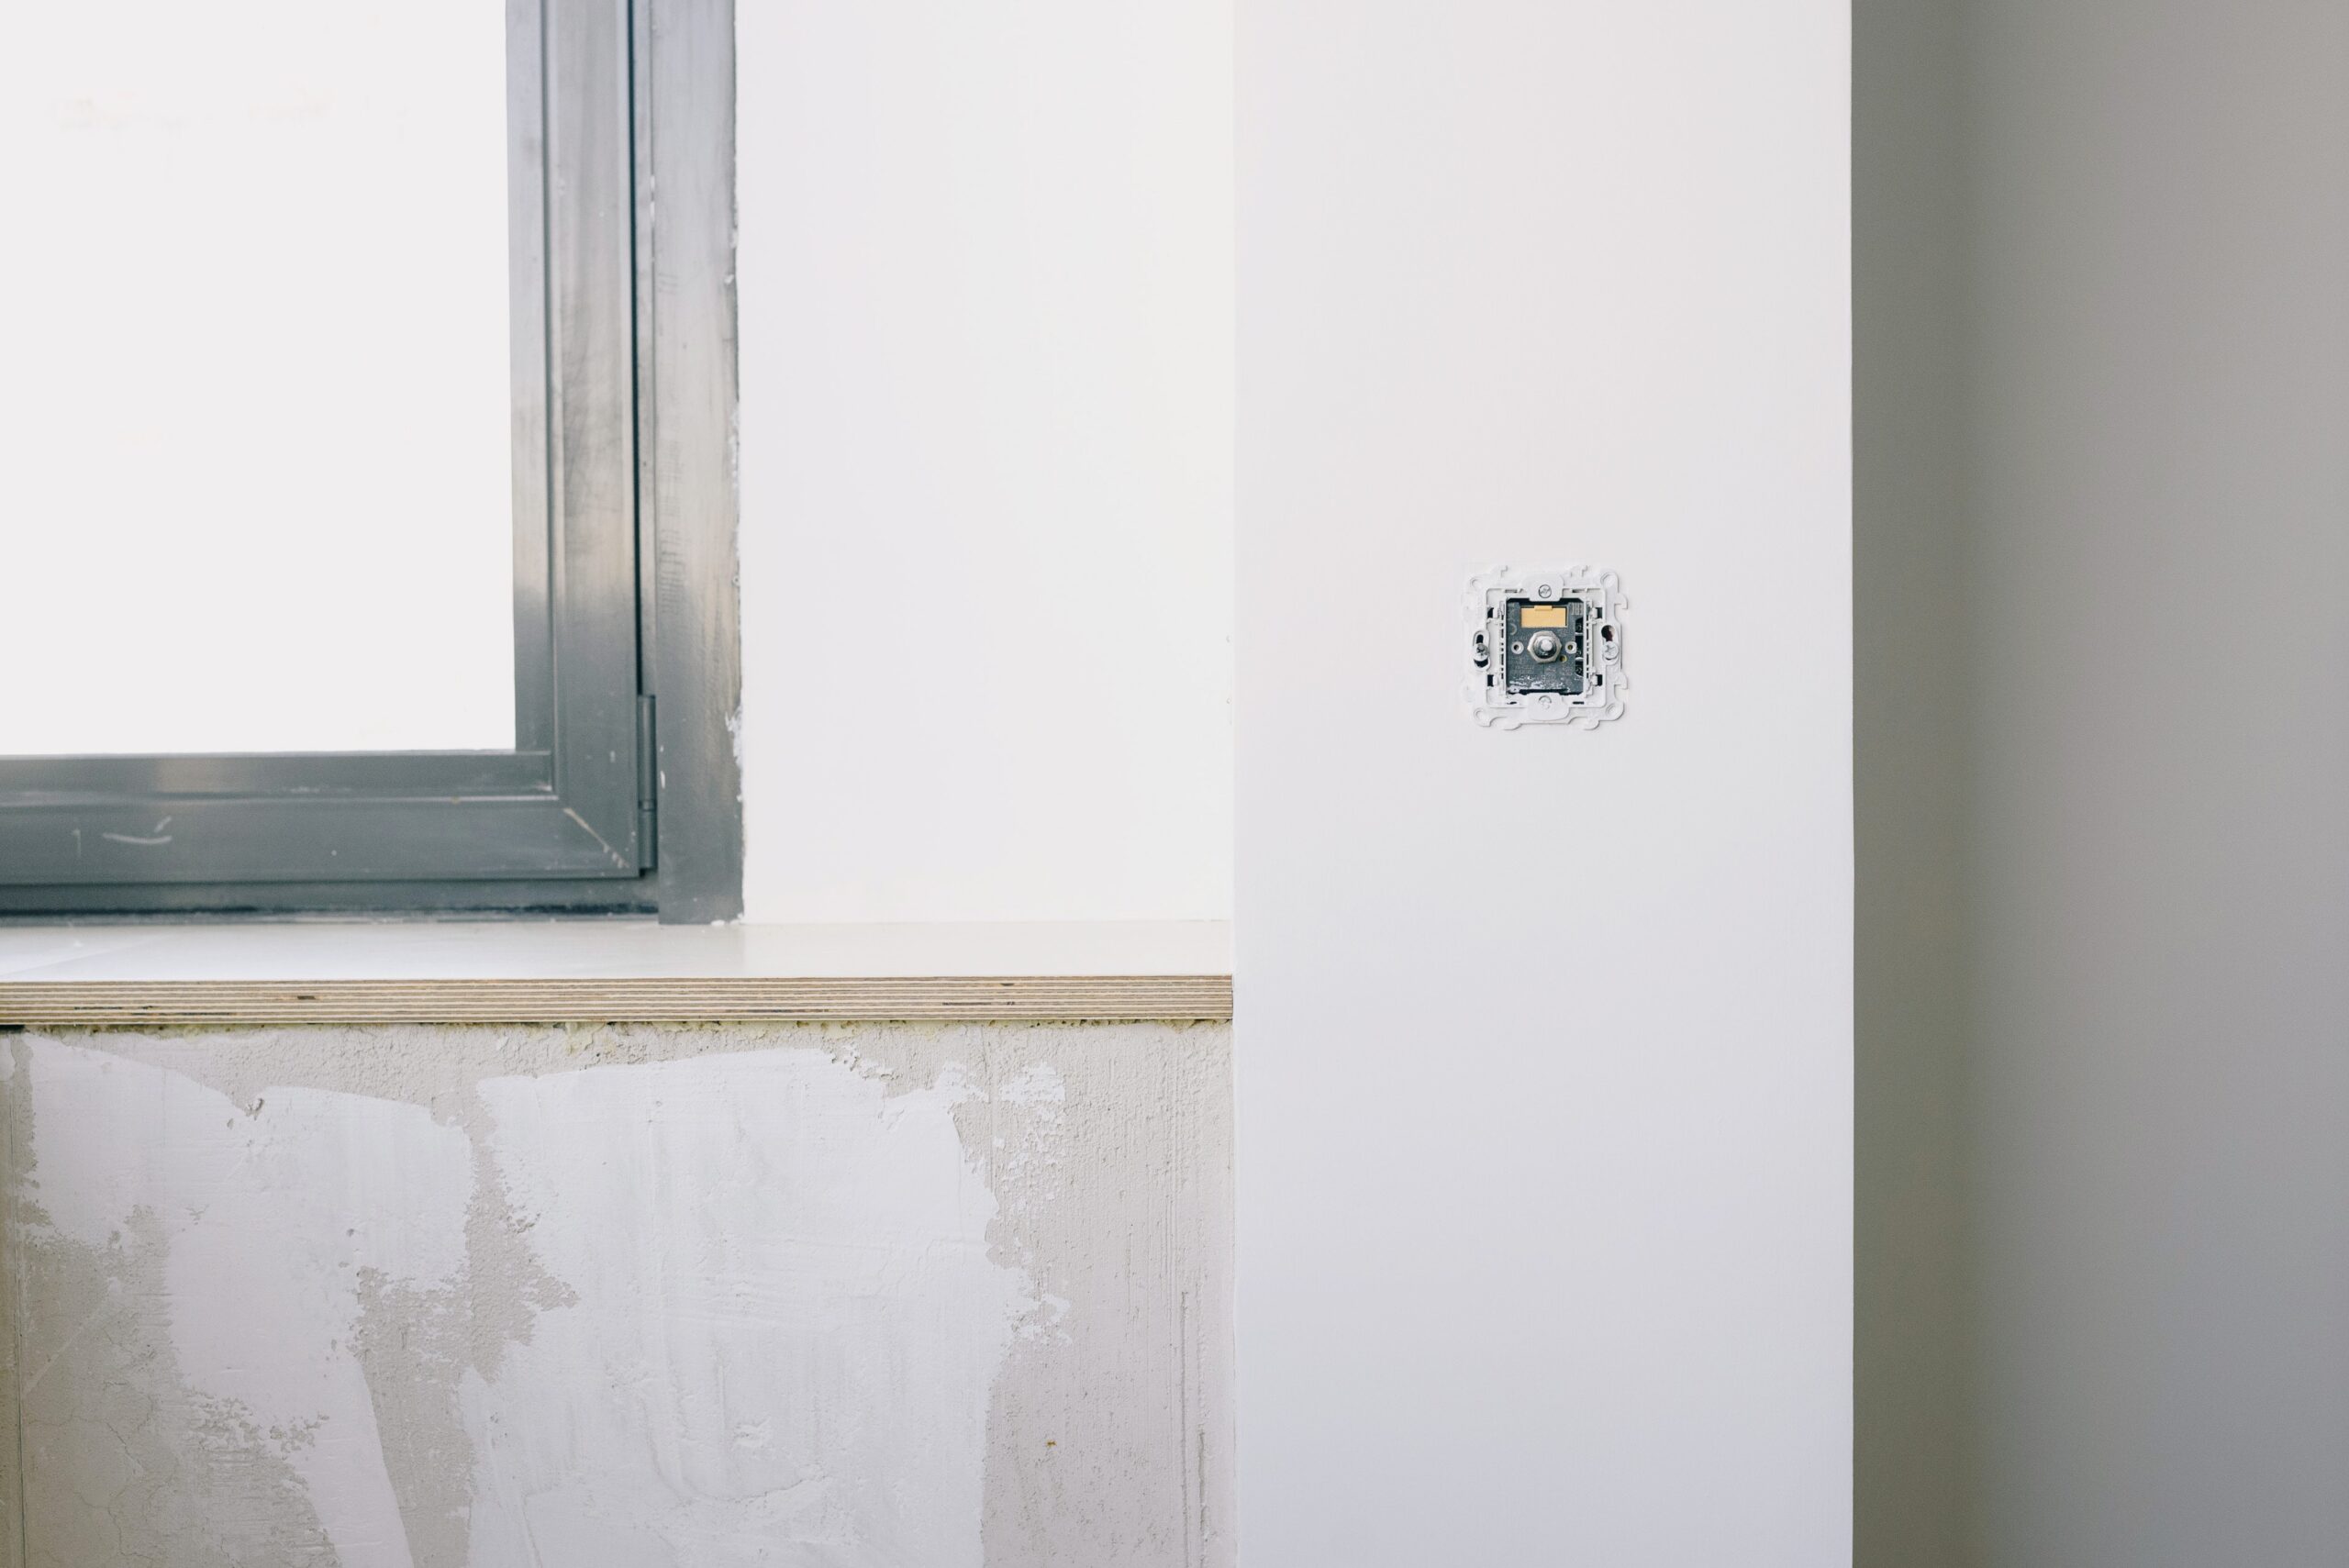
Step 1: Remove the Old Window or Door
The first step in installing a Carlsbad window or door is removing the old one. This may seem like a daunting task, but with the right tools and approach, it can be done easily.
Before beginning, make sure to wear protective gloves and eyewear. Start by removing any curtains or blinds from around the window or door and then remove any trim using a pry bar. Next, use a utility knife to cut through any caulk or sealant around the edges of the old window or door.
Once you’ve removed all exterior components, you can begin to remove the old unit itself. Check for screws holding it in place and unscrew them if necessary. You may need someone else’s help as these units can be heavy.
Carefully lift out the old window or door and set it aside. Be careful not to damage your walls during this process.
Inspect your opening thoroughly before proceeding with installation of new windows/doors – check for rotting wood that will require replacement before continuing installation work on newer models!
Step 2: Measure for the New Window or Door
Before installing a new window or door, it’s essential to take accurate measurements. Start by measuring the height and width of the window frame from inside. Make sure you measure both the top and bottom of the frame as they may vary in size.
Next, measure the depth of the frame from one side to another. This measurement will determine how thick your replacement window or door should be. If you’re unsure about any of these measurements, consult with a professional for guidance.
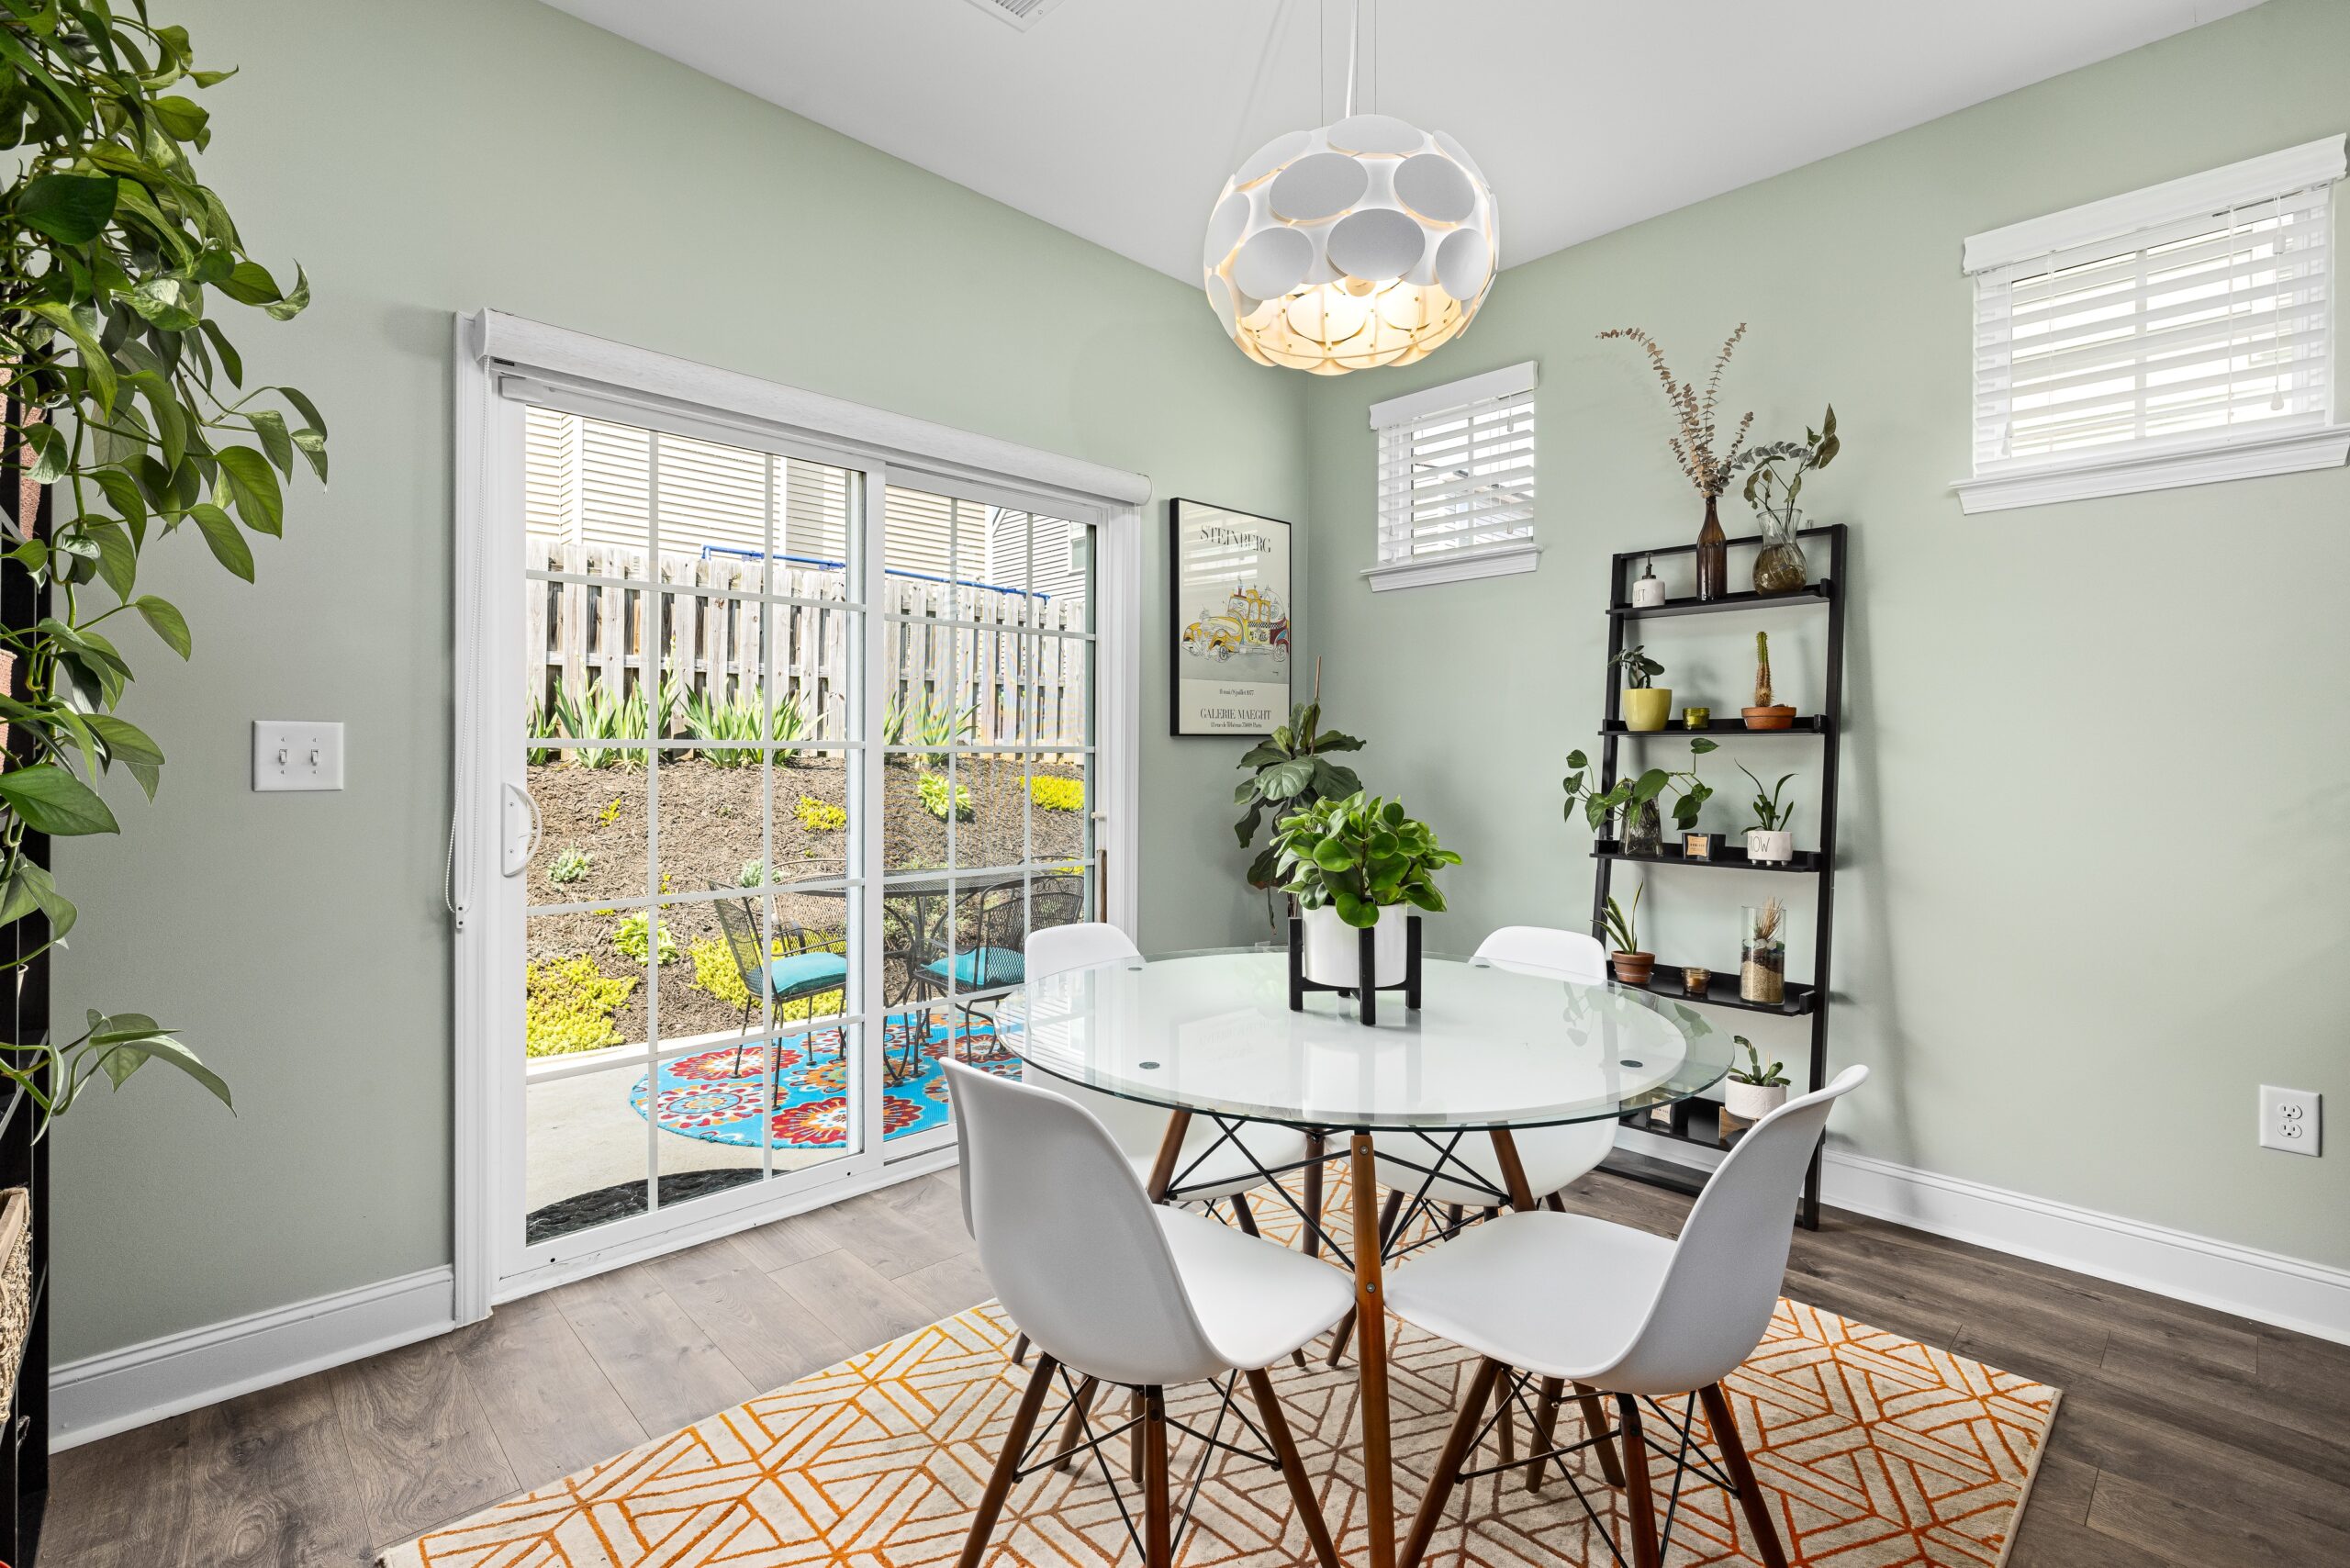
When measuring for a door, consider its swing direction and ensure that there is enough clearance space around it. Take note of any obstacles like light switches or electrical outlets near where you’ll install your new door.
It’s important to double-check your measurements before ordering your new window or door to avoid costly mistakes down the line. Remember that even small measurement errors can cause issues during installation, so take your time and be precise when measuring for your Carlsbad Window & Door project!
Step 3: Install the New Window or Door
Now that you’ve removed the old window or door and measured for the new one, it’s time to actually install it! But don’t worry, this step is easier than you might think.
Firstly, make sure your new window or door is level before securing it in place. This will prevent any future issues with opening and closing the unit. If necessary, use shims to adjust its position until everything looks straight.
Next, secure the window or door in place using screws or nails around the perimeter. Be careful not to over-tighten them as this can cause damage to the frame.
Once installed, test your new window or door by opening and closing it a few times to ensure everything works smoothly. You may need to adjust things slightly if there are any issues.
Seal up any gaps between the frame and wall using caulk. This will help improve energy efficiency by preventing drafts from entering your home through small cracks.
By following these simple steps for installing a Carlsbad Window & Door replacement unit yourself instead of hiring a professional team could save you thousands of dollars while ensuring that job done right!
Step 4: Caulk and Seal Around the New Window or Door
Now that you have successfully installed your brand new Carlsbad window or door, it’s important to ensure that it is properly sealed and caulked. This step is crucial in preventing any air leaks or water damage from occurring.
Begin by using a high-quality silicone caulk to seal around the perimeter of the window or door frame where it meets the exterior wall. Apply an even bead of caulk along the entire length of each side, making sure to fill any gaps or cracks.
Next, use a putty knife or caulking tool to smooth out and evenly distribute the caulk. This will help create a tight seal and prevent any moisture from seeping in.
Once you have completed caulking around the frame, move on to sealing any gaps between the window or door itself and its frame. Use weatherstripping tape or foam strips designed for windows and doors to fill these gaps.
Check all corners and edges for any remaining gaps or openings that need to be filled with additional caulking. Once everything has been sealed up tight, your new Carlsbad window or door should be ready to go!
Step 5: Add Trim Around the New Window or Door (optional)
Step 5: Add Trim Around the New Window or Door (optional)
Trimming around your new window or door is an optional step, but it can add a finished and professional look to your installation. There are many types of trim available, from simple wood strips to decorative molding.
Before choosing your trim, consider the style of your home and the overall look you want to achieve. If you have a more traditional home, a classic wood frame may be ideal. For contemporary homes, sleek metal or vinyl options might be better suited.
Once you’ve selected your trim material, measure and cut each piece to fit snugly around the edges of the window or door frame. Use finishing nails and adhesive if needed for secure attachment.
When applying finishing touches like paint or stain, make sure to protect surrounding surfaces with painter’s tape first. And don’t forget to seal any gaps between the trim and window/door frame with caulk for added insulation.
By taking these extra steps to add trimming around your new Carlsbad window & door installation, you can enhance both its functionality and aesthetic appeal for years to come.
Conclusion
Installing a Carlsbad window & door may seem daunting at first, but with these 10 easy steps and the right tools, anyone can do it. Remember to take accurate measurements and use proper safety gear when removing old windows or doors. Take your time during installation to ensure a perfect fit and seal around the new window or door. Adding trim is optional but can give your project a professional finish.
By following these steps, you’ll be able to complete this home improvement project on your own without calling in professionals. And not only will you have saved money by doing it yourself, but you’ll also enjoy the benefits of having beautiful new windows or doors that improve energy efficiency and increase curb appeal for years to come!